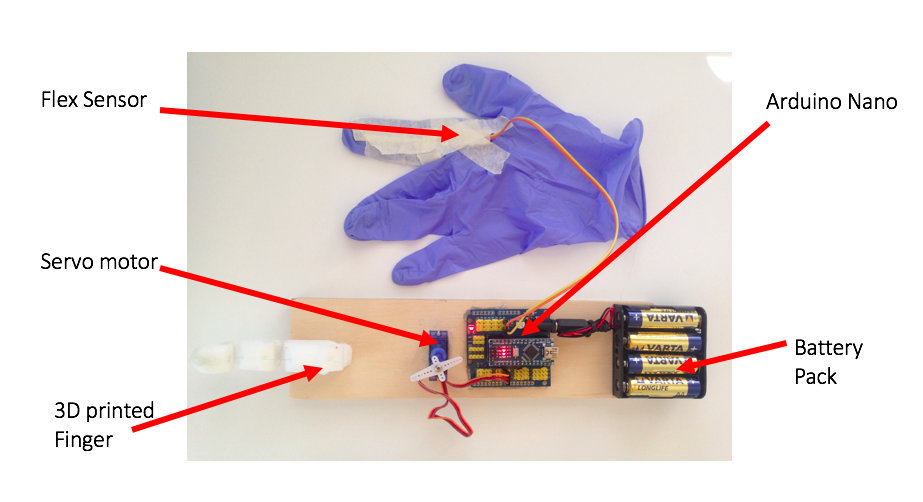
Complete structure
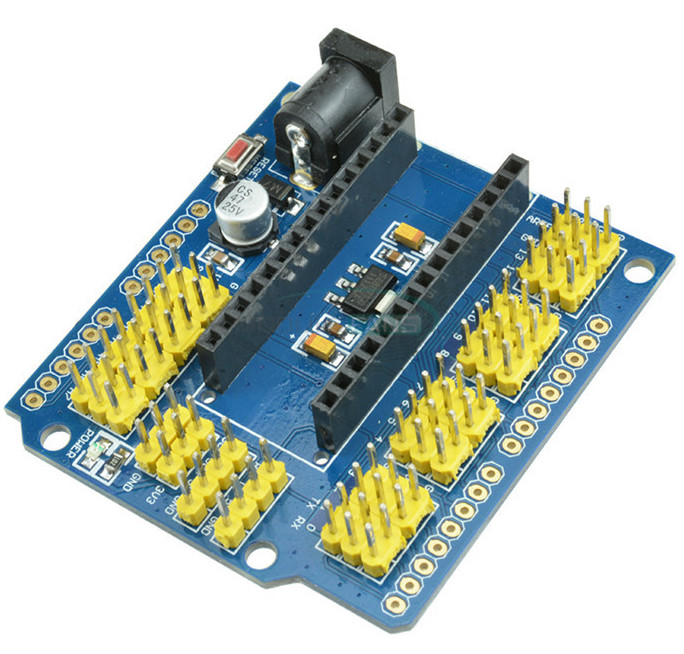
1. Arduino Nano and expansion board - you can use a normal Arduino mini as well. The Arduino Nano is the centre control panel, the code is uploaded to it, it the stores the program on it and runs it as well. It is the connection centre for the finger. The Arduino Nano can be found here and the expansion board can be found here.
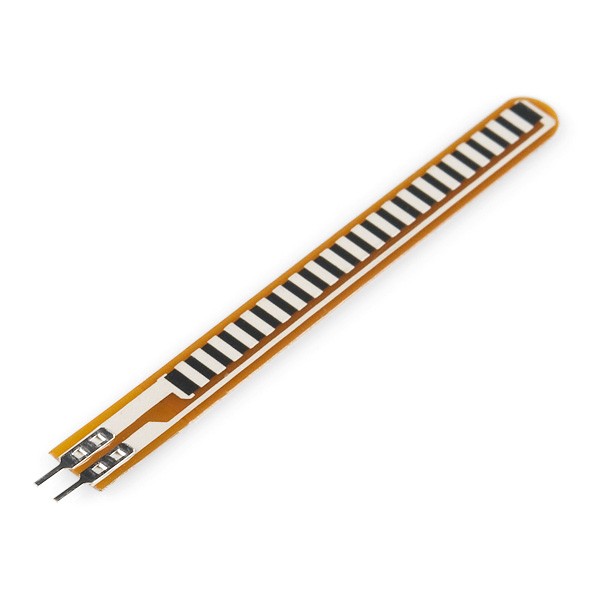
2. Flex Sensor - This is a sensor that measures the amount of bending occurring when bent. The flex sensor is connected to the glove where your finger is, when it bends, angles are produced and sent to the servo to repeat in the movement of the servo. The flex sensor can be found here.
3. Battery pack and 4 batteries – This supplies power to the the Arduino which then powers the motor and flex sensor. 4 Double A batteries are need. The battery pack can be found here.
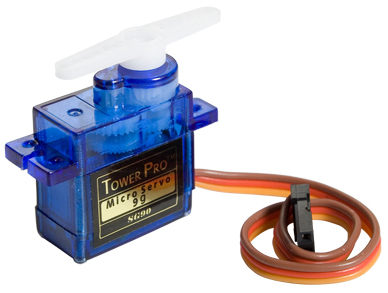
4. Tower Pro Micro Servo 99 – This is a servo that has a motor with gears and a shaft to control and be positioned at various angles, from 0 – 180 degrees. This is used to create the movement of the finger, by swinging the arm of the servo and pulling a string with the arm. This can be found here.
5. Fishing wire or any string like material - about 25cm – This attaches to the servo motor so when it turns, the string is pulled making the 3D printed finger flex inwards. An alternative is a strong string like material able to fit in a small hole.
6. Wooden plank, any type, around 7cm by 30cm with a thickness around 1cm – This is the base of the hand, all component are attached to this to complete the structure.
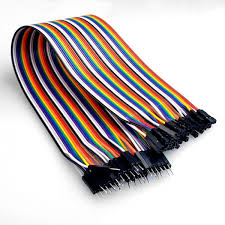
7. Arduino wires for the connection from flex sensor to the Arduino board. This can be found here.
8. 3D printer finger parts – These are put together with the acrylic sheet and hot glue to make the joint and complete finger. If 3D printing is not possible, use straws or paddle pop sticks, and cut them into the 3 joints to make a finger instead.
9. Thin clear acrylic sheet 5cm by 5cm square – This is placed between the finger parts and then hot glued into place to make the joint.
10. Hot glue and hot glue gun – This is used to glue components onto wooden plank, attach finger parts together and any other materials needed to be glued together.
11. Plastic Glove – any type of glove can be used, this is used to control the bionic finger, as you put your hand in the glove that has the flex sensor connected to it making the artificial finger move when finger is bent in glove.
12. Tape, any type, e.g.plastic, masking tape or duct tape - this is used to connect the flex sensor to the plastic glove.
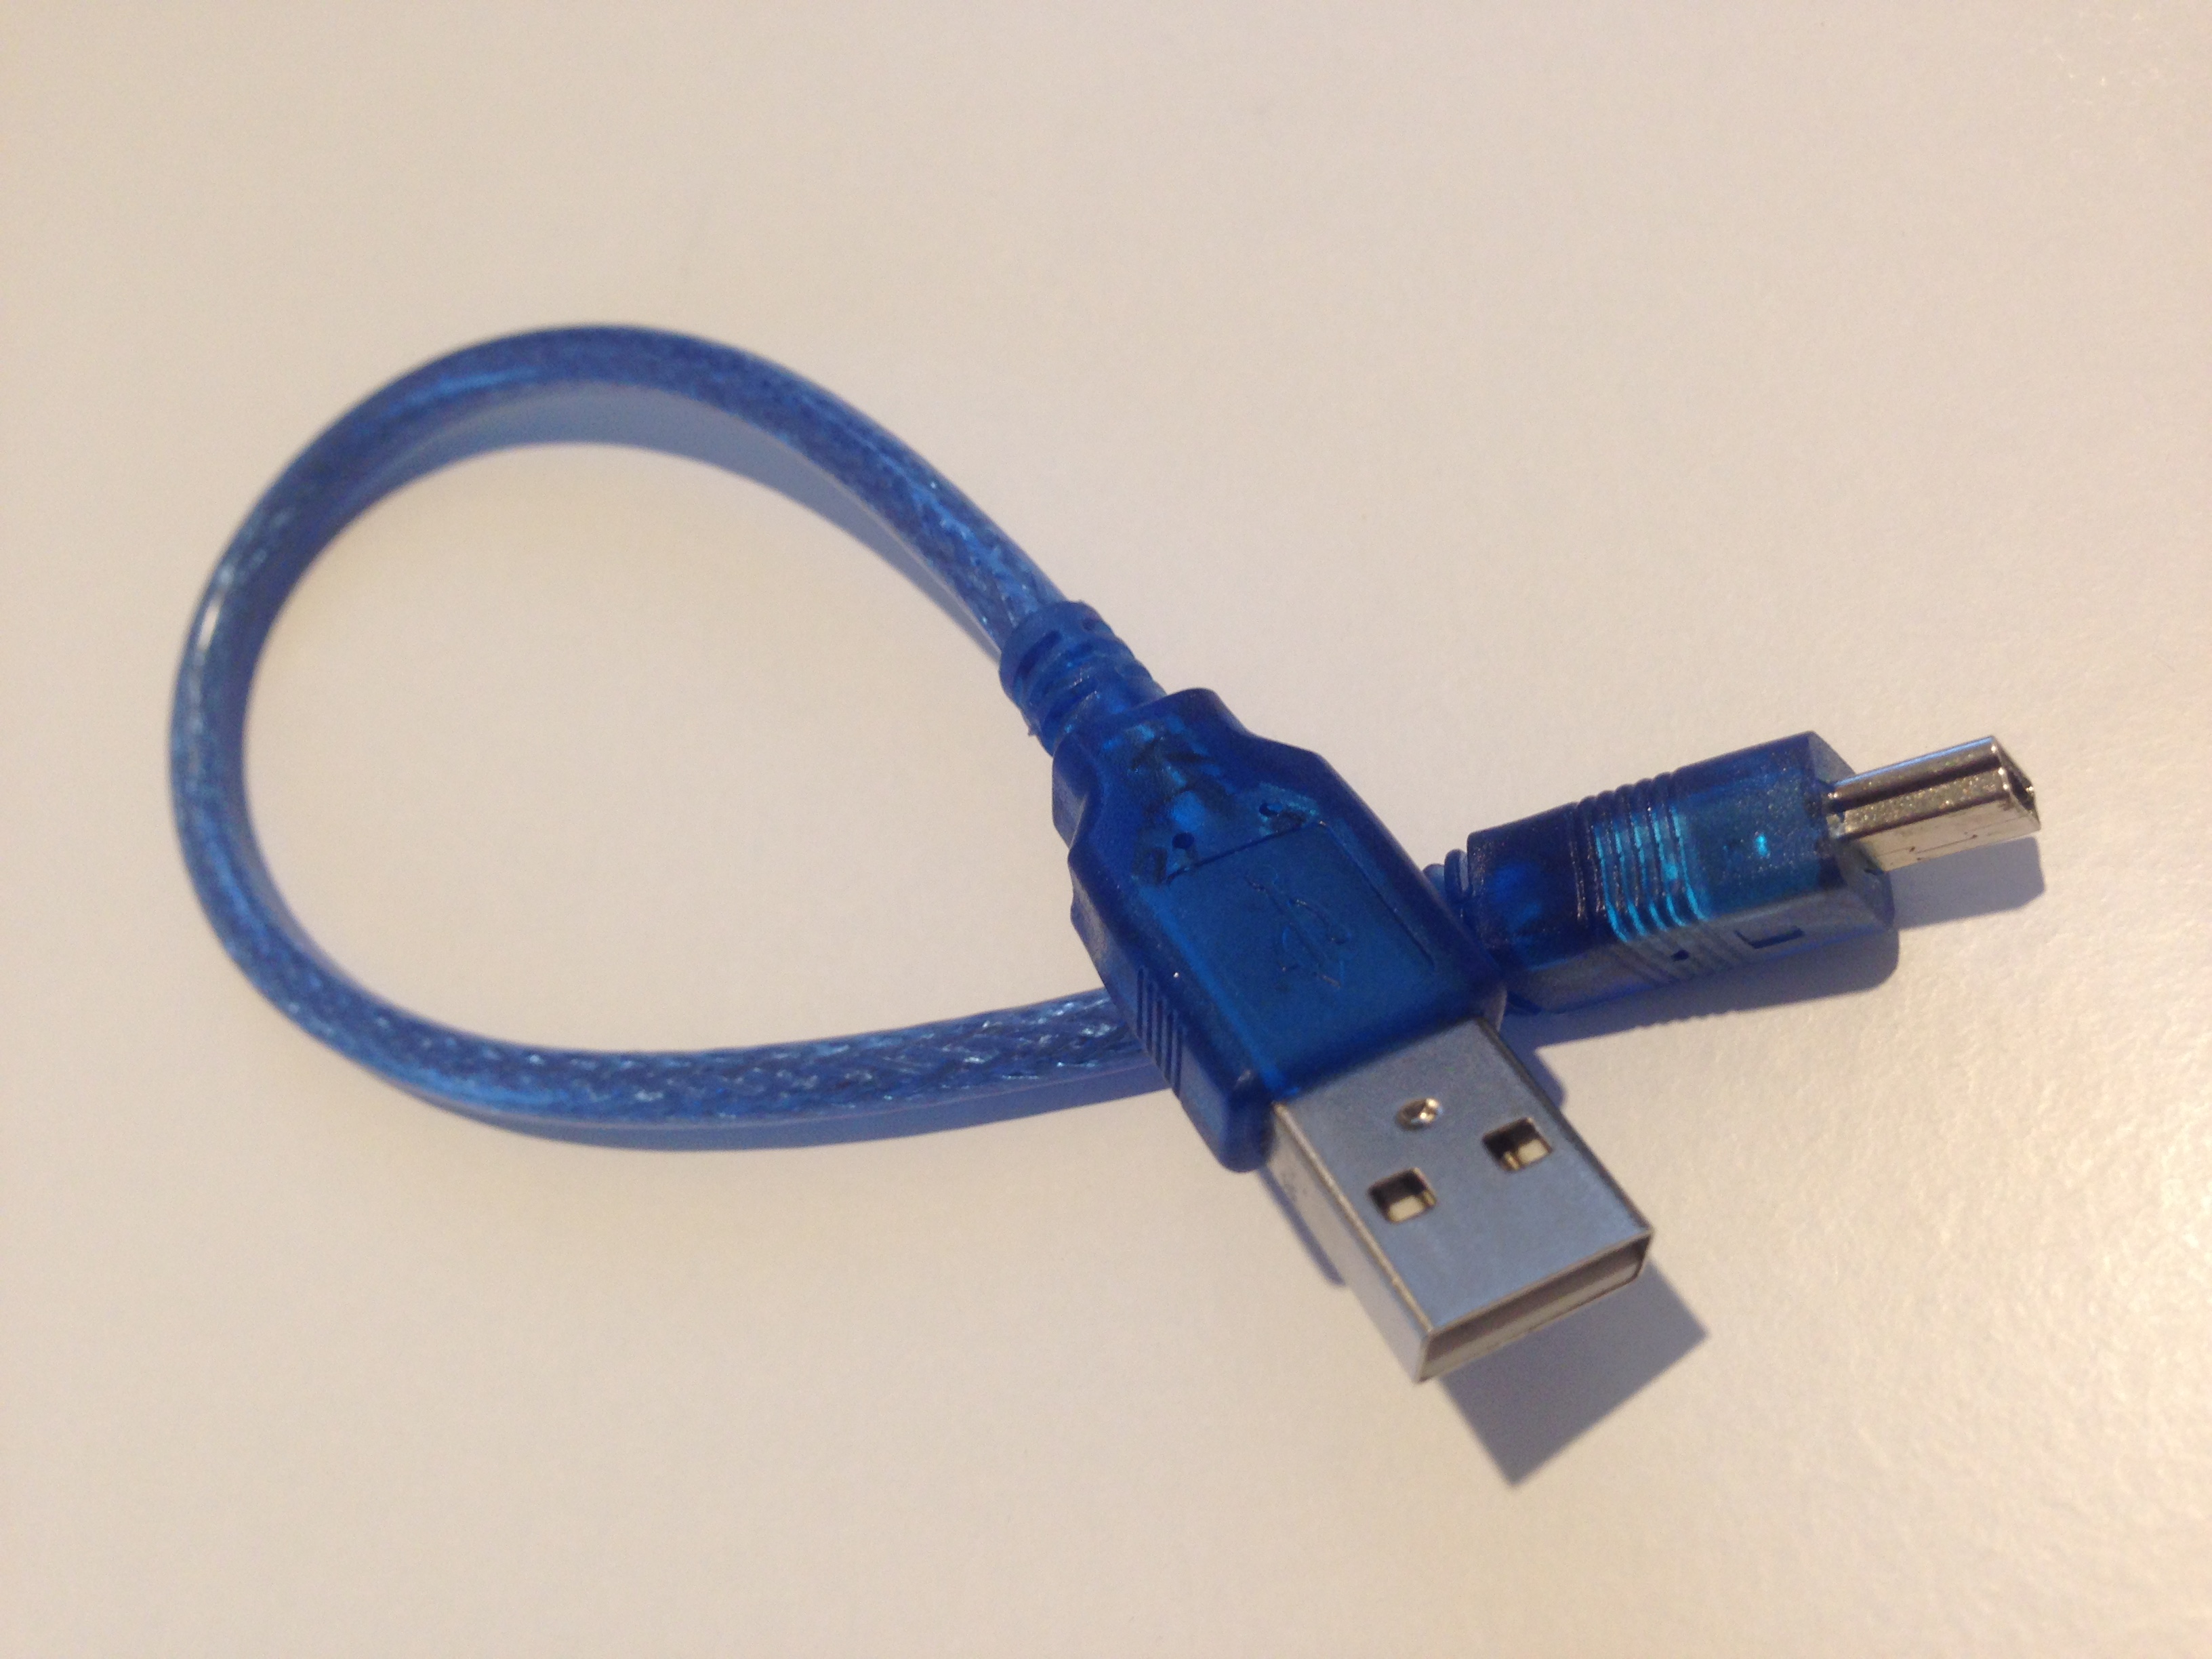
13. Cable that connects computer to arudino, this is so you can upload your code. The cable is a normal USB to a mini USB. This can be found here.